
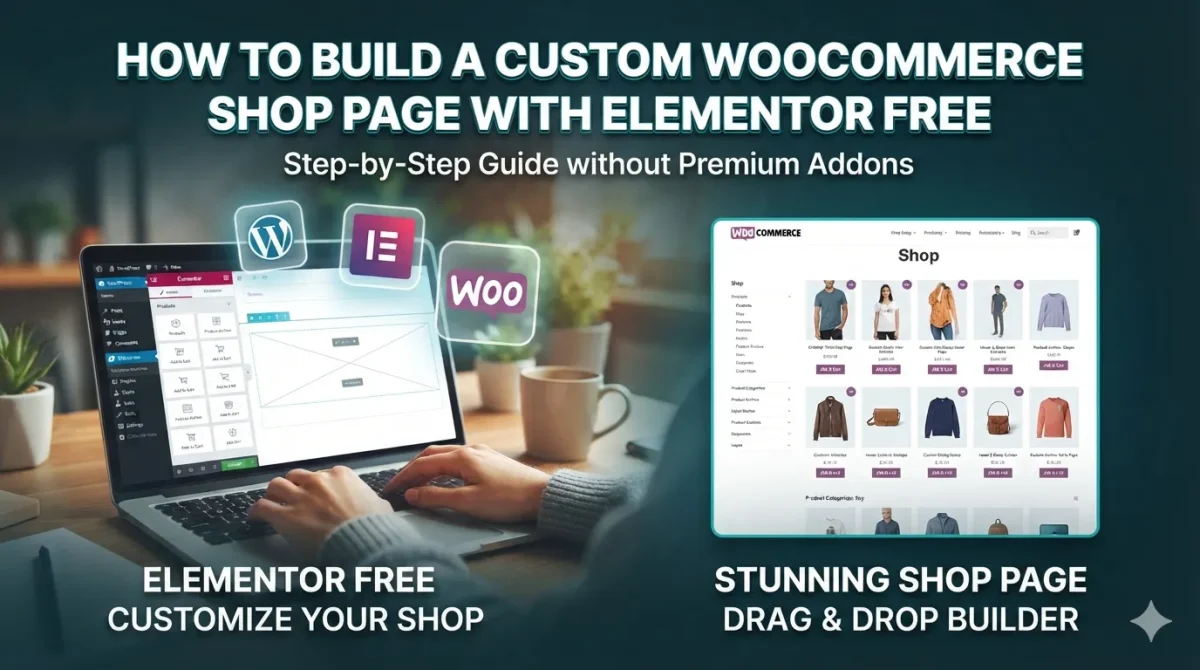
Are you trying to customize your WordPress eCommerce store but feeling stuck with the default, boring layout?
If you use the free version of Elementor, you already know that editing the WooCommerce Shop page or Product Archive is completely locked. Clicking “Edit with Elementor” on your shop page usually results in a frustrating error or redirects you to the Elementor Pro pricing page ($59/year).
But what if you are a freelancer managing multiple client sites, or a store owner on a tight budget? Spending $59 for every single website just to unlock shop customization isn’t always viable.
Fortunately, you don’t need Elementor Pro. In this comprehensive guide, we will show you how to build a fully custom WooCommerce Shop Page with Elementor Free using a powerful, lightweight alternative.
The Secret Weapon: CRT Addons for Elementor
To bypass the Elementor Pro paywall, we will use a dedicated open-source plugin called CRT Addons for Elementor (registered as crt-manage on the WordPress repository).
Unlike other heavy addon packs that bloat your source code, CRT Addons provides a clean, native WooCommerce Theme Builder engine for free. It unlocks premium product grids, custom query filters, and archive templates without slowing down your Google Core Web Vitals score.
👉 QUICK LINK: Download CRT Addons for Free on WordPress.org
Link: https://wordpress.org/plugins/crt-manage/
Step-by-Step Guide: Designing Your Custom Shop Page
Step 1: Install and Activate the Required Stack
Before we begin, ensure you have the following active on your WordPress dashboard:
- WooCommerce (with a few test products published).
- Elementor (Free Version).
- CRT Addons for Elementor (Go to
Plugins > Add New, search forcrt-manage, click Install and Activate).
Once activated, navigate to CRT Addons in your sidebar and verify that the WooCommerce Builder features are toggled ON.
Step 2: Create a New Product Archive Template
Instead of editing the standard WordPress shop page directly, we need to create an overriding layout template.
- Navigate to
CRT Addons>Theme Builderin your WordPress backend. - Click the Add New button at the top.
- Set the Template Type to Product Archive (or Shop Page depending on your version).
- Name your template something recognizable, like “Global Custom Shop Page”.
- Click Edit with Elementor.
Step 3: Design the Layout with Free WooCommerce Widgets
Now, you are inside the familiar Elementor Free canvas, but you will notice a brand-new set of dedicated WooCommerce elements in your left sidebar courtesy of CRT Addons.
1. Add the Page Header
Drag a standard Elementor inner section. Inside, drop the Archive Title widget. This will dynamically generate the name of your shop or category (e.g., “Shop”, “Men’s Apparel”).
2. Deploy the Product Grid Engine
This is where the magic happens. Scroll down to the CRT Addons section and drag the Product Grid widget into your main row.
Instantly, your live products will populate the screen. In the content panel, you can customize:
- Columns & Layout: Switch seamlessly between 2, 3, or 4 columns depending on screen size.
- Hover Effects: Enable modern overlay animations, “Quick View” triggers, or zoom effects that match top-tier e-commerce brands.
- Add to Cart Button: Fully modify the typography, colors, padding, and position of your purchase buttons.
3. Build a High-Converting Sidebar (Optional)
If you want a modern sidebar structure, change your main section to a 2-column layout (e.g., 25% left, 75% right). In the narrow column, drag the native WooCommerce filter widgets:
Product SearchFilter Products by PriceProduct Categories
Step 4: Configure Display Conditions (The “Pro” Feature)
Once your shop design looks pixel-perfect, click the green Publish button at the bottom left corner. A pop-up window will ask you where you want to display this template.
- Click Add Condition.
- Select Shop Page (or All Product Archives if you want this layout applied to category pages as well).
- Click Save & Close.
Your custom template is now live! Open an incognito browser window and visit your website’s shop URL to witness your gorgeous new creation.
Pro-Tips for Maximizing Your Shop Page Performance
- Image Optimization: Ensure your product thumbnail images are uniformly cropped (e.g., 1:1 square ratio) under
Appearance > Customize > WooCommerce > Product Images. This prevents the product grid rows from breaking unevenly. - Speed is King: Keep your grid pagination turned on if you have more than 12 products. Loading too many products at once on a single page ruins mobile user experiences.
- Premium Upgrades: If you don’t want to design individual sections from scratch, check out full premium starter themes like Teri Shop on crthemes.com. They come pre-configured with optimized cart flows, mega-menus, and lightning-fast checkout structures designed specifically for agencies and professional developers.
📺 PREFER A VIDEO TUTORIAL?
Watch us configure a custom Elementor theme builder setup live on YouTube:
👉 https://www.youtube.com/watch?v=8o9CeyCv1H8
Summary: Stop Paying, Start Building
Customizing your WooCommerce storefront should not be a luxury reserved only for Pro license holders. By pairing Elementor Free with CRT Addons, you unlock full, robust layout controls that allow you to stand out from the competition while protecting your revenue margins.
Drop your thoughts or questions in the comments section below, and happy building!